Configure authorizations
General information
Overview
This section allows you to manage participants' authorizations. It depends on which Authorizations you have configured and enabled by your developers. To understand more what are authorizations and how to configure them, please refer to the Authorizations section in the Customize Guide.
With authorizations an administrator can define different permissions so participants can make some actions in a component. For instance you can configure that only participants who have verified herselves by their identity documents can vote on proposals in a participatory process.
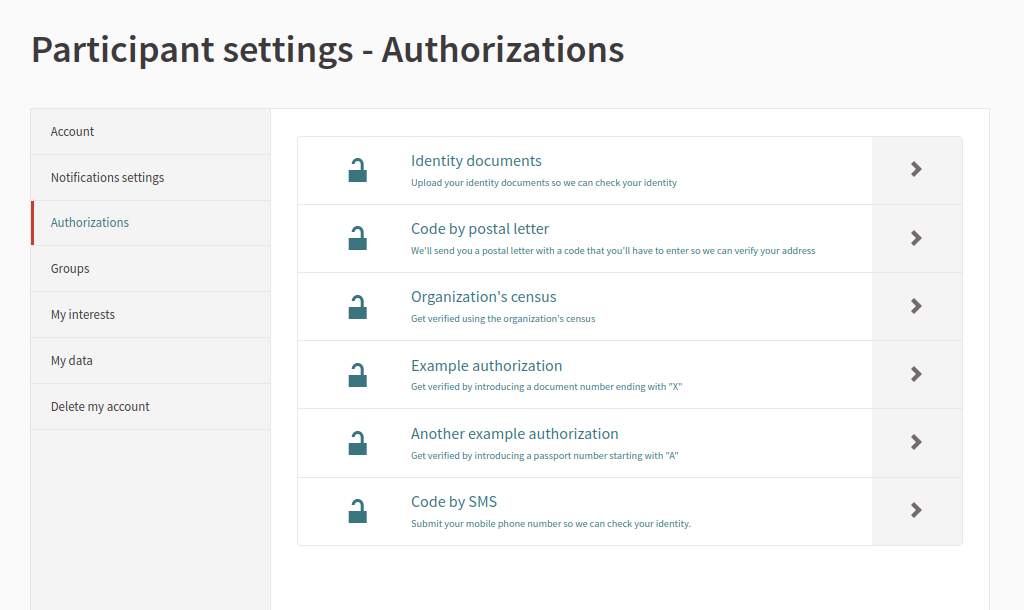
A participant can see which authorizations does she have available in her account settings.
Options
Verification methods
Some of the available authorizations by default are:
- Identity documents
- Code by postal letter
- Organization’s census
If any of these authorizations are not useful for your needs, talk with your implementer to see other alternatives. Learn more about Authorizations in the Customize Guide section.
Identity documents (ID’s)
This authorization allows a participant to upload its identity documents. These documents depend on the organization, they could be a driver’s license, a passport, a national identity card, a club membership card, etc.
These documents will be reviewed by an administrator to accept or reject them. It’s possible to do this process in two ways: Online or Offline.
- Online: the participant will be asked to upload the documents, and the administrator will review these documents.
- Offline: the participant will be asked to fill in some data, and then she’ll need to go to a presential place to show her documents face to face.
Configuration
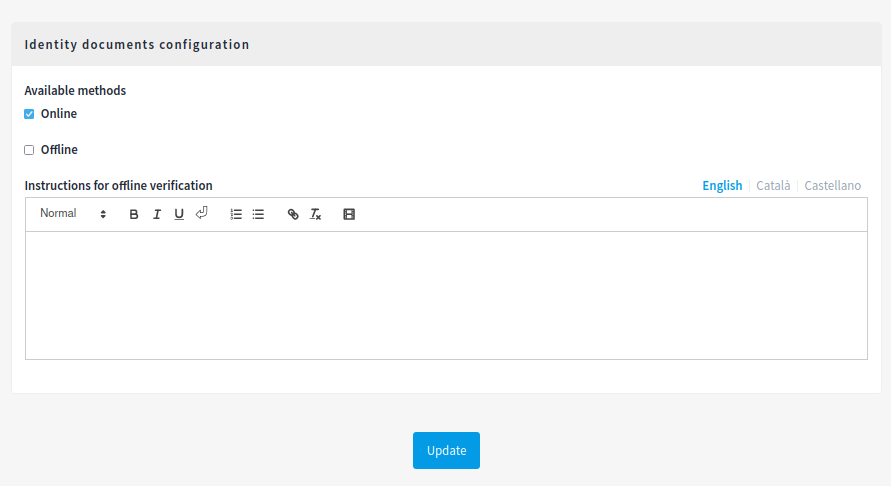
By clicking on the btn:[Config] button in this section, an administrator can configure the settings for this authorization.
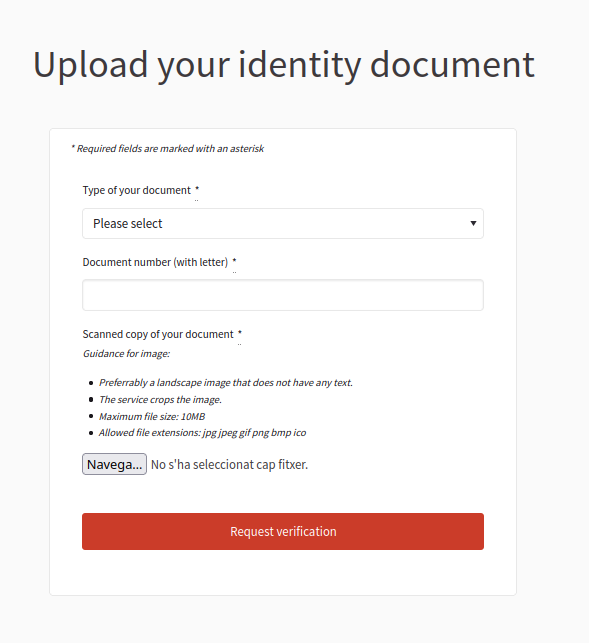
⚠️ As you can see, this authorization is based in the original implementers reality, in this case in the Spanish identities document types. For instance, we’re giving as options for document types "DNI, NIE or Passport" or we’re asking for "Document number (with letter)" You can change this by code customizing or overriding these things. We also accept Pull Request contributions so it’s possible to configure this.
| Field | Type | Description |
|---|---|---|
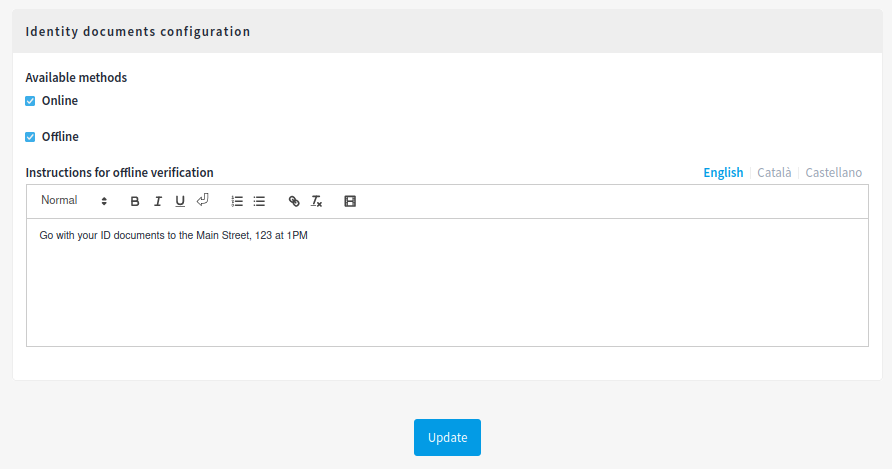
| Available methods | Required | At least one method must be selected. Options: Online and/or Offline. |
| Instructions for offline verification | Required (if offline is selected) | Directions that participants need to follow to verify their documents when offline verification is selected. For instance, do they need to go to a specific place to show their documents? Is this place open some days of the week? Is it open for certain hours? |
Manage ID’s online
- Participants fill in their document type and number and upload a copy of their document.
- An administrator fills in the information present in the uploaded image.
- The information should match whatever the user filled in.
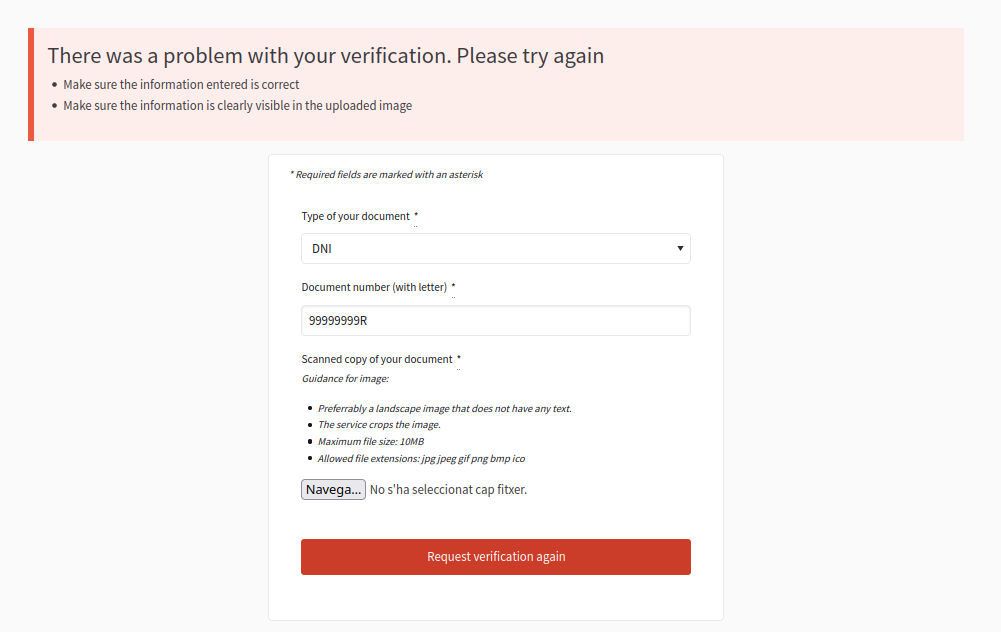
- If the administrator can’t clearly see the information or she can’t get it verified, she can reject the request and the user will be able to fix it.
- Participants fill in their document informations and upload a copy of their document
By going to the authorization section in its profile, or by clicking on the action button if this permission is requested, a participant can see the form for uploading a copy of her document. She also needs to fill in her document type and number.
- Administrators review the documents
After this document is uploaded, an administrator can review it by going to the Identity documents section in the admin panel.
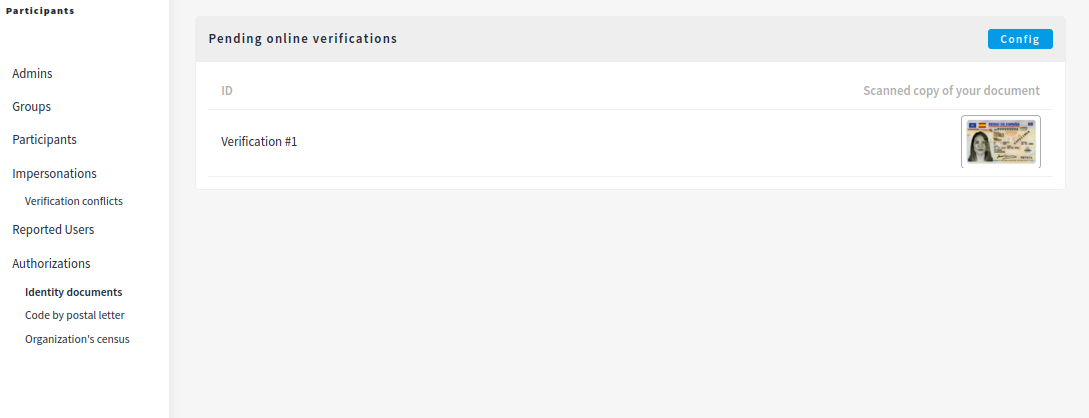
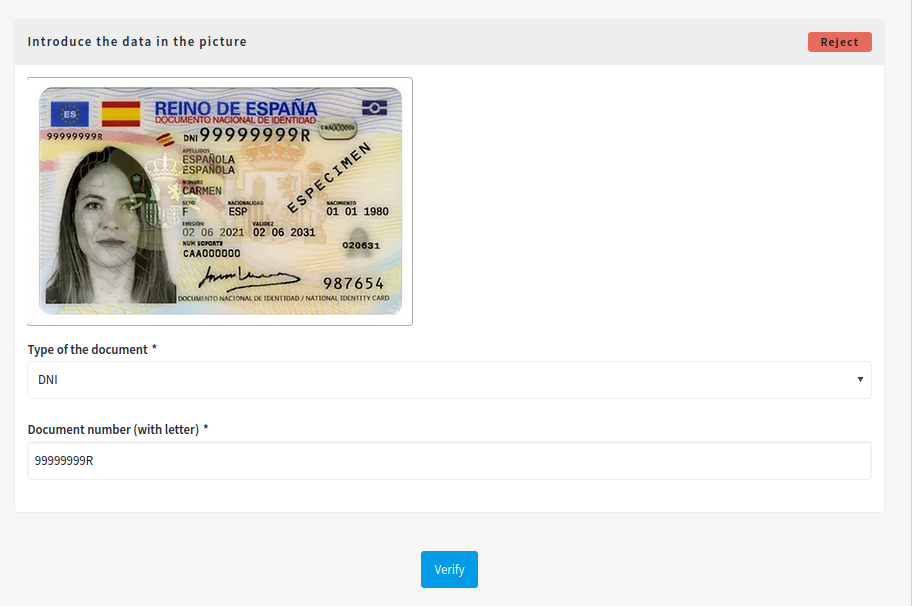
After clicking on the document, the administrator needs to see the image and fill in the document number. This needs to match with the one provided by the participant.
3. The request is accepted or rejected
There are two actions an admin can do:
- Accept: the participant will be fully authorized.
- Reject: the participant will be prompted to amend her documents
If the request is rejected then the participant can provide other pictures or document.
Manage ID’s offline
- Participants fill in their document type and number.
- Participants follow the instructions provided to them. For instance, if they need to go to a specific place in a specific time to show their documents.
- An administrator go to the "Offline verification" panel and fills in the information present in the physical documents.
- The information should match whatever the user filled in.
- If the administrator can’t clearly see the information or she can’t get it verified, she can reject the request and the user will be able to fix it.
For this authorization to work, an administrator need to first configure it in the admin panel with the instructions explaining what the participant need to do to finish the verification process.
1. Participants fill in their document information and follow the instructions
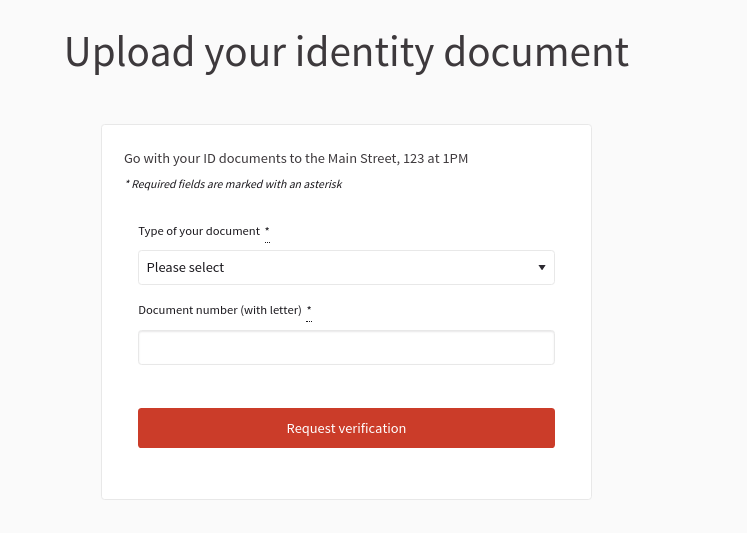
By going to the authorization section in its profile, or by clicking on the action button if this permission is requested, a participant can see the form for filling in her document type and number.
2. An administrator reviews this request
In the admin panel, the administrator can review the request by clicking in the "Offline verification" button.

Then she’ll need to fill some data provided by the participant and by reviewing the document physically provided by her.
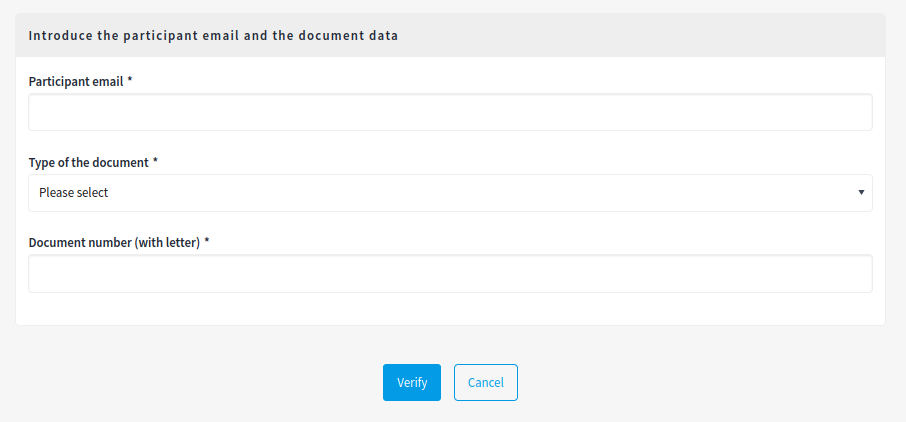
| Field | Type | Description |
|---|---|---|
| Participant email | Required | Email of the registered participant |
| Type of the document | Required | Can be: DNI, NIE or Passport |
| Document number (with letter) | Required | Document number of the participant. For instance, "12345678Z" |
3. The request is accepted or rejected
In the cases where the verifications don’t match (meaning that the email or the document number provided by the participant and the ones filled by the administrators aren’t the same), then the participant need to ammend it with her user account.
Manage ID’s online & offline
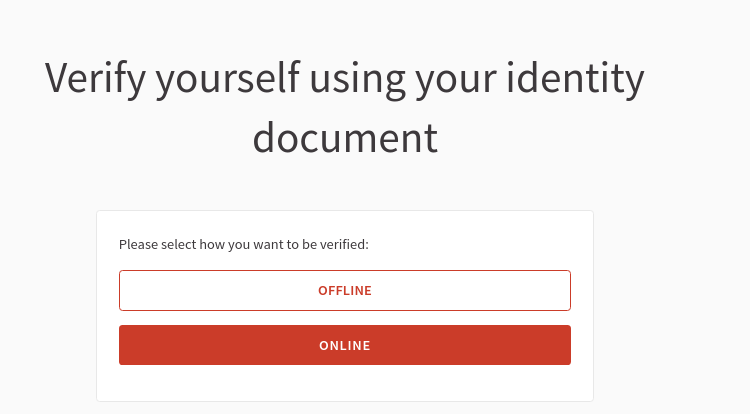
It’s also possible to enable both of these verifications methods. In this case, the participant will be asked to choose which kind of verification she wants to do.
Code by post letter
This authorization allows a participant to request for a verification code to be sent to its address, to confirm that she lives or works in this place. She’ll need to then fill the code in the platform.
The process is:
- Participants request a verification code to be sent to their address.
- An administrator sends the letter to their address with the verification code.
- An administrator marks the letter as sent.
- Once you mark the letter as sent, the participant will be able to introduce the code.
- If this code matchs, then she gets verified.
1. Participants request the verification code
By going to the authorization section in its profile, or by clicking on the action button if this permission is requested, a participant can see the form for filling in her full address to request the verification code.

If she tries to edit it, she’ll see this message:

This is because the letter could be in the process of being sent. If this needs to be corrected, then the participant needs to contact to the organization.
2. Administrators review the requests and send the letter
In the admin panel, the administrator can review the request by going to the "Code by postal letter" in the "Participants" section.
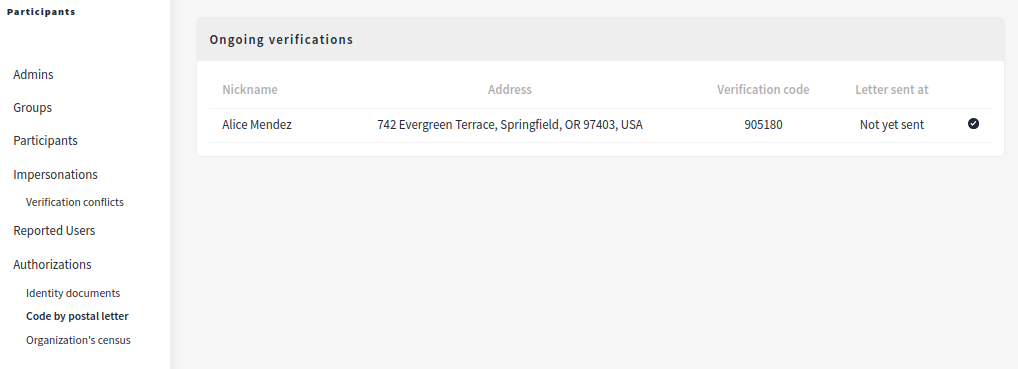
Here she can see the verification code and can send it to the participant by mail. After the code is sent she can mark it as sent with the check icon. It’ll also show when the letter was sent.
3. Participants fill in the verification code
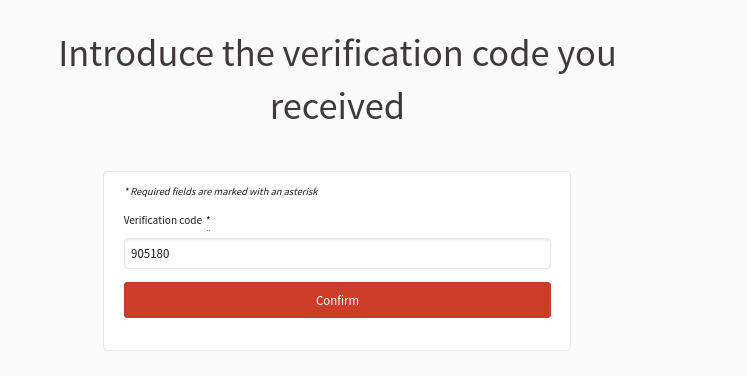
After the participant has received the code, she can go to it’s account settings and click in the "Code by postal letter" verification method.

Then she’ll see the form for confirming the code.
4. Verification code matches or not
If the verification code matches, then the participant will see the message "Congratulations. You’ve been successfully verified".
On the other hand, if the verification code doesn’t match, then the participant will see the message "Your verification code doesn’t match ours. Please double-check the letter we sent to you."
After is verified, as with other verifications, she can see it in her account settings.

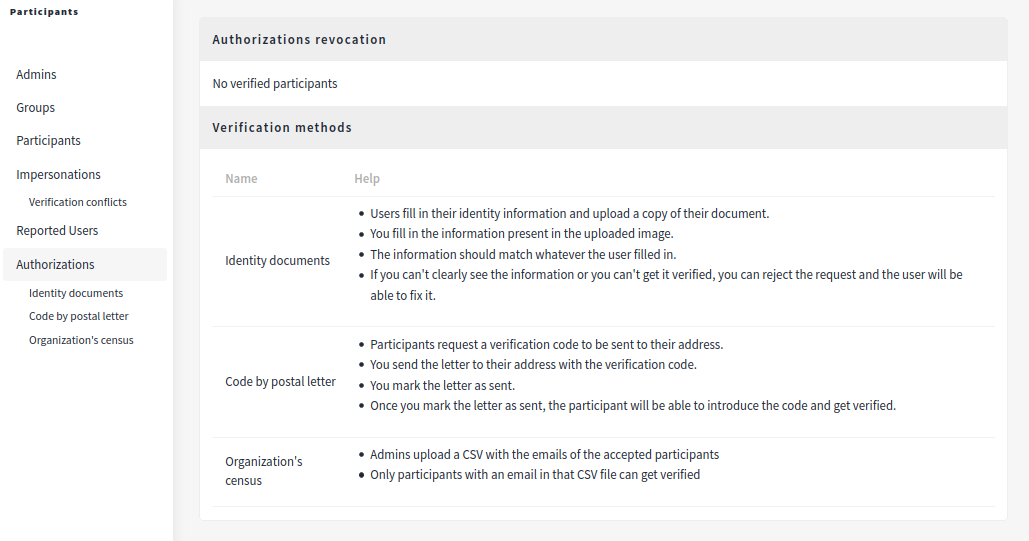
Organization’s census
The process is as follows:
- Admins upload a CSV with the emails of the accepted participants
- Participants go to its accounts and requests to be verified
- Only participants with an email in that CSV file can get verified
⚠️ is this too simple and you need more features related to CSV census imports?
Check all the CSV or file based authorizations in our Modules page.
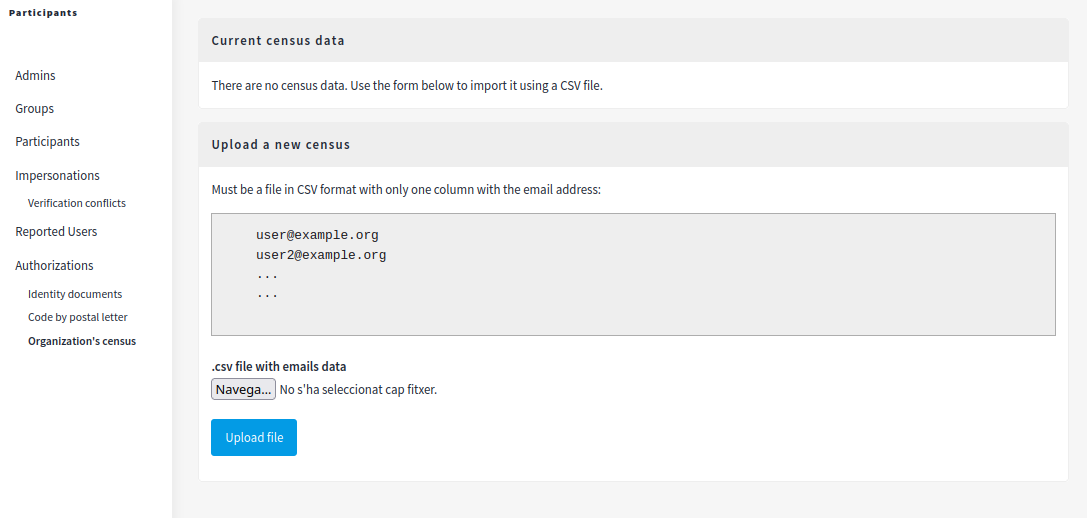
1. Administrators upload the .CSV of the participants
In the admin panel, the administrator can review the request by going to the "Organization’s census" in the "Participants" section.
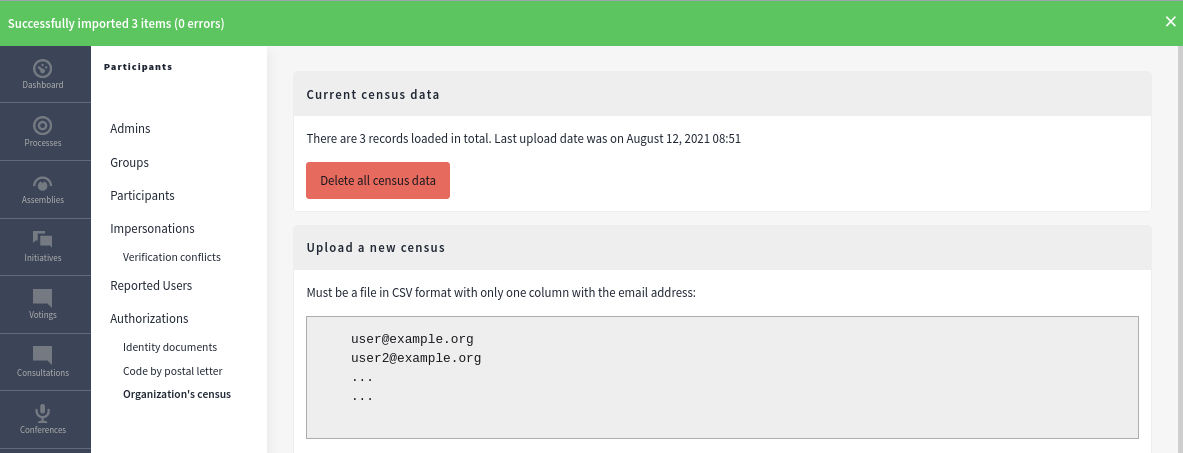
After the CSV is imported then the administrator can see how many participants where imported. She can also delete this imported census.
2. Participants request to be verified
By going to the authorization section in its profile, or by clicking on the action button if this permission is requested, a participant can request to be verified.

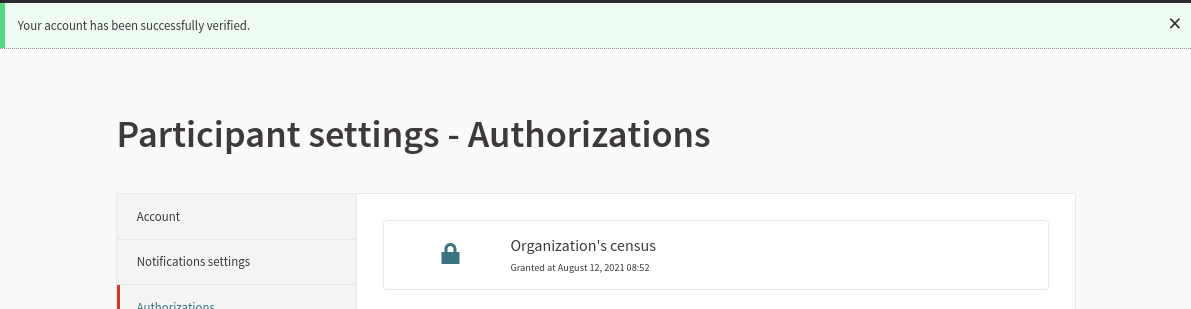
3. Participants are verified (or not)
After is verified, as with other verifications, she can see it in her account settings.
Revoking authorizations
A default Decidim installation will not have verified participants.
In the moment that there are some participants verified, an administrator can revoke all the authorizations, as the attributes that give permissions to those participants could be changed in time and the platform didn’t receive these changes in the participants statuses. For instance, an identity document of a participant could be expired, or if a participant have been authorized by the "code by postal letter", that participant could move in the meantime.
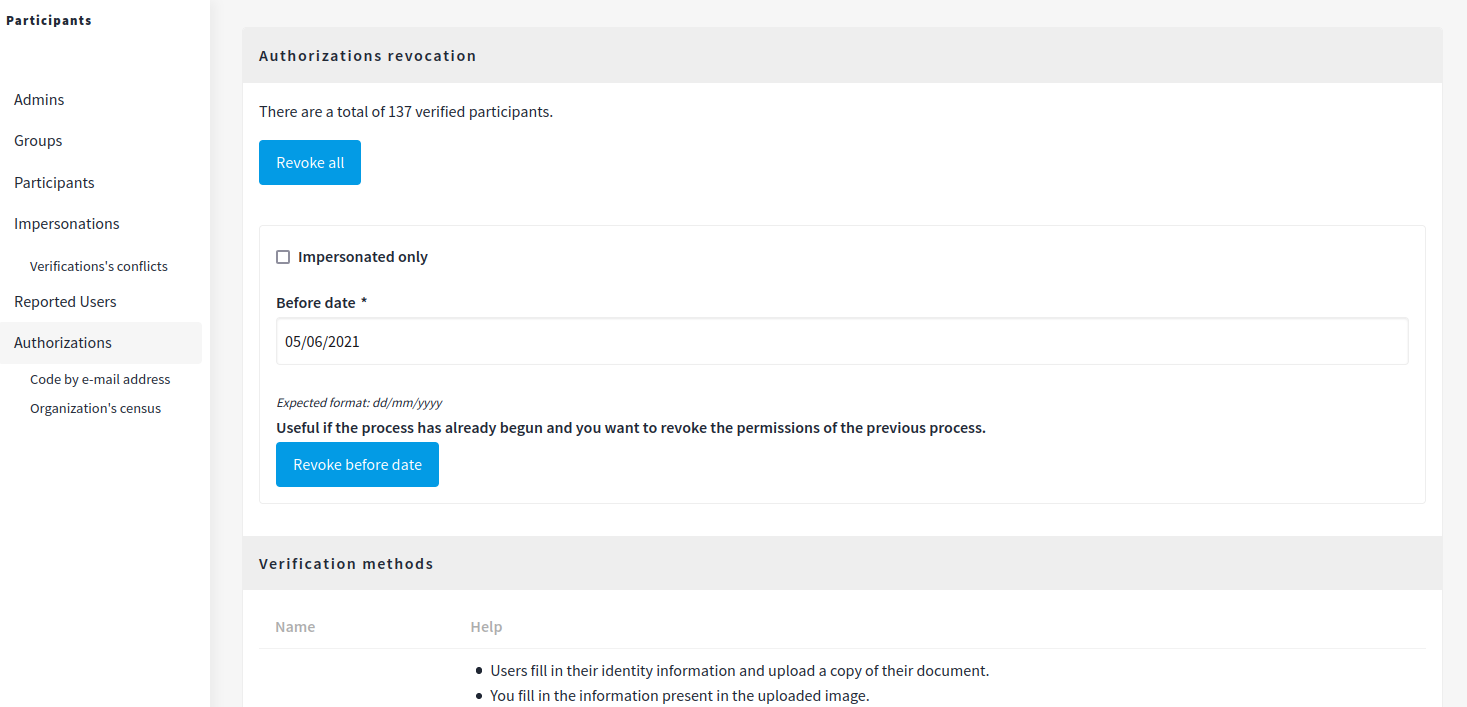
It’s possible to revoke all the authorizations with "Revoke all", or to only revoke authorizations before a given date. Another possiblity is to revoke only the impersonated participants.
Based on Decidim Docs under Creative Commons BY SA 4.0