Organize groups
General information
Overview
A user group is a group of participants. Depending in the installation and the context of the organization it could be disabled. This is enabled or disabled in the administration dashboard, in:
ℹ️ Settings → Configuration → Edit organization → Enable groups
Options
Create a group
This action is done by a participant. She needs to go to their profile and in the sidebar there’s a button that says "Create group":

When clicked it’ll open the "New group form":
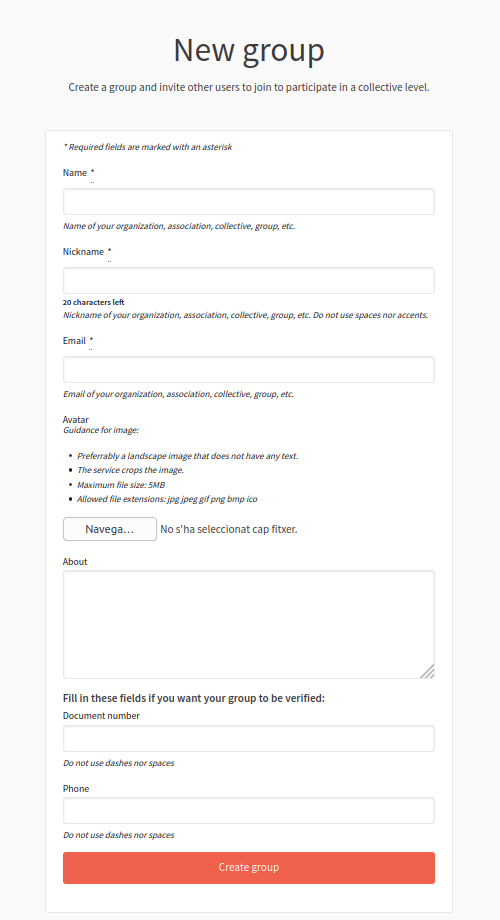
| Field | Type | Description |
|---|---|---|
| Name | Required | Name of your organization, association, collective, group, etc. |
| Nickname | Required | Nickname of your organization, association, collective, group, etc. Do not use spaces nor accents. 20 characters maximum. |
Required | Email of your organization, association, collective, group, etc. | |
| Avatar | Optional | Guidance for image: Preferably a landscape image that does not have any text. The service crops the image. Maximum file size: 5MB. Allowed file extensions: jpg jpeg gif png bmp ico |
| About | Optional | Description of what’s this group. |
| Document number | Optional | Used for verifications. Do not use dashes nor spaces. |
| Phone | Optional | Used for verifications. Do not use dashes nor spaces. |
Manage memberships
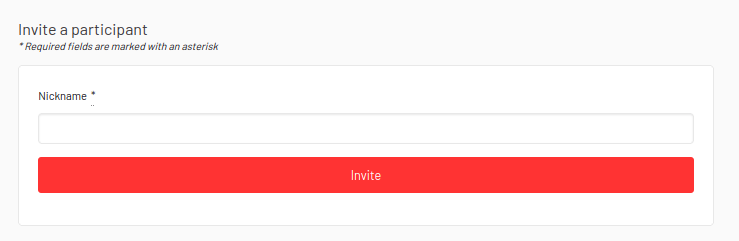
After a group has been created, it’s possible to invite participants to become members of the group. After a participant has accepted to be part of this group then she can become an admin.
The actions that can be done by a participant in the user group are:
- Edit group profile
- Manage members
- Manage admins
- Invite participant
- Leave group
Verify members
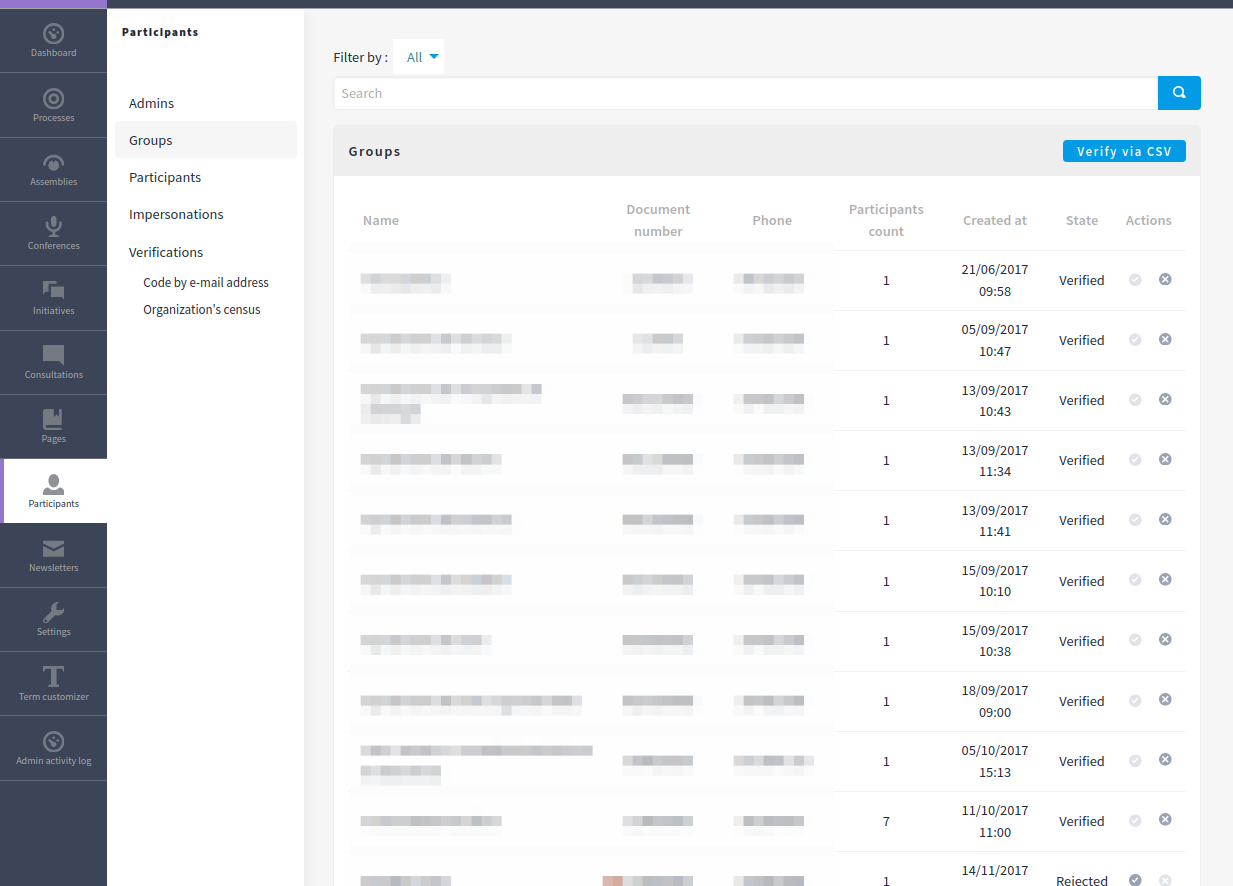
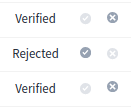
This action is done by an administrator. A group can be:
- Pending
- Verified
- Rejected
This can be done with the buttons at the sidebar:
When a user group is pending it can be verified or rejected. Once is verified it can be rejected and once is rejected it can be verified.
If you want to verify multiple user groups at the same time you can do so with the option "Verify via CSV":
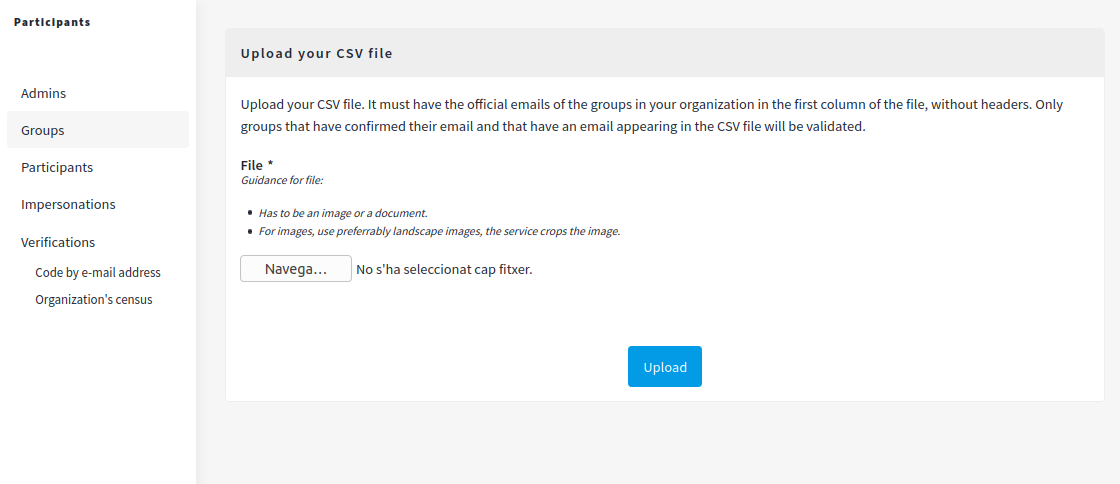
Upload your CSV file. It must have the official emails of the groups in your organization in the first column of the file, without headers. Only groups that have confirmed their email and that have an email appearing in the CSV file will be validated.
After a group is verified this is publicly visible in their nickname in the platform and there’s a message in its profile: "This group is publicly verified, its name has been verified to correspond with its real name".

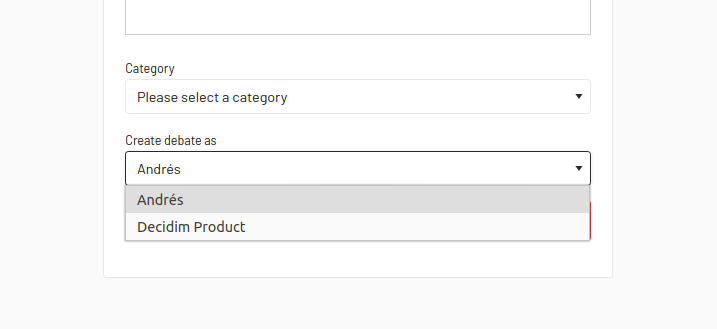
Create a Debate, Proposal or Meeting
As a verified user group, group members can perform these actions on behalf of the group.
There’s a dropdown in the form during the creation process:
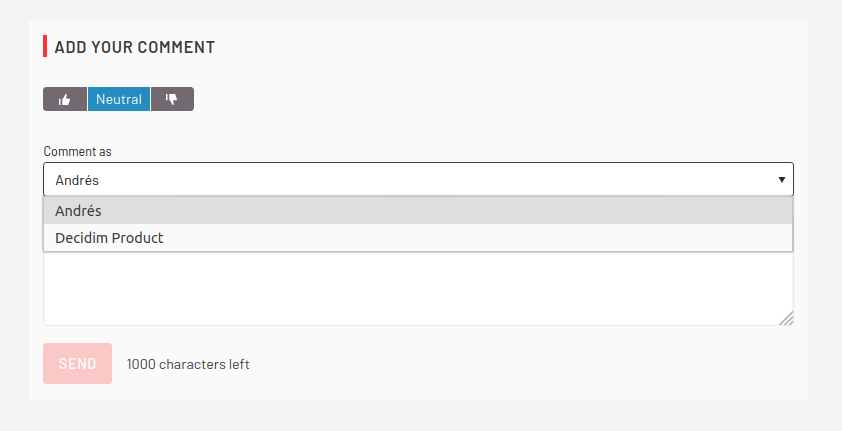
Make a comment
As a verified user group, group members can perform this action on behalf of the group.
There’s a dropdown in the form when making a comment:
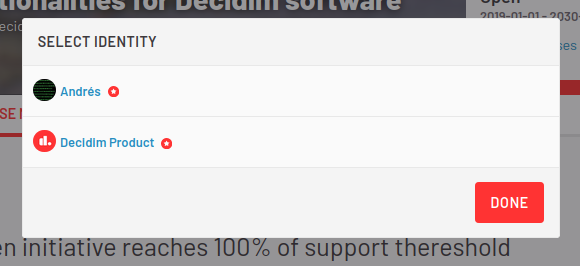
Endorse
As a verified user group, group members can perform this action on behalf of the group.
When making an Endorse there’s a modal window asking who do you want to make the endorse with:
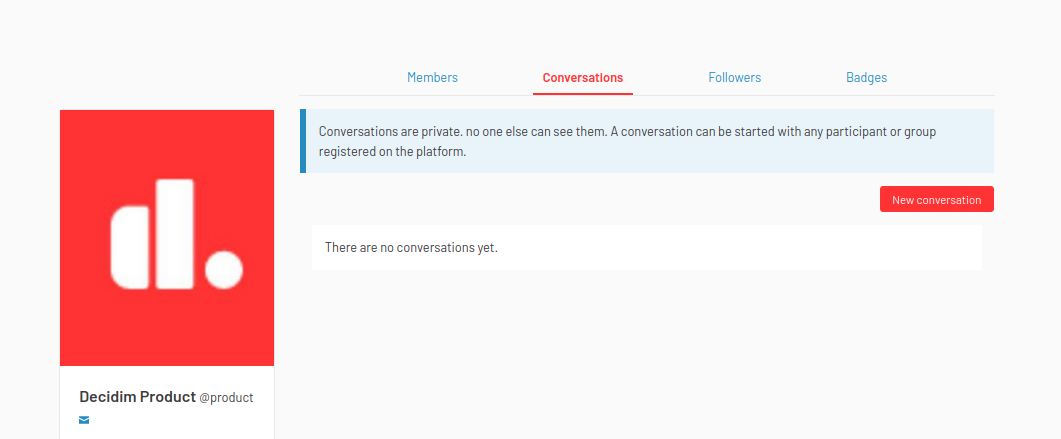
Conversations
You can also have Conversations as a group. This is in the group profile page:
Based on Decidim Docs under Creative Commons BY SA 4.0